The Problem
If you’re painting with oils, you must protect the surface of your canvas. Otherwise, you’re setting your painting up to fail, literally.
Raw fabric, especially cotton or linen, will absorb oil from your paint, and over time this oil rots the fibers. That means flaking, cracking, discoloration, and eventually: total destruction of your painting. This is not theory, it’s a well-documented conservation nightmare.
Besides that, an unsized canvas is too soft and bouncy. You might think a little spring is okay, but when you’re trying to work with precision, especially for detailed botanical painting, it feels like painting on a trampoline. Frustrating, inconsistent, and bad for your brushwork.
The Symptoms of a bad foundation
If you’ve experienced any of the following, you’re probably working on an improperly prepared surface:
- The canvas sags or feels loose, even when stretched well
- The paint seems to sink in or dries dull and patchy
- The canvas tears, bubbles, or cracks over time
- You see weird oil halos or staining on the back
- You just hate the feeling of painting on it
These are signs of deeper structural problems, ones that will eventually ruin your work.
The Solution
The solution is simple, and it’s stood the test of centuries:
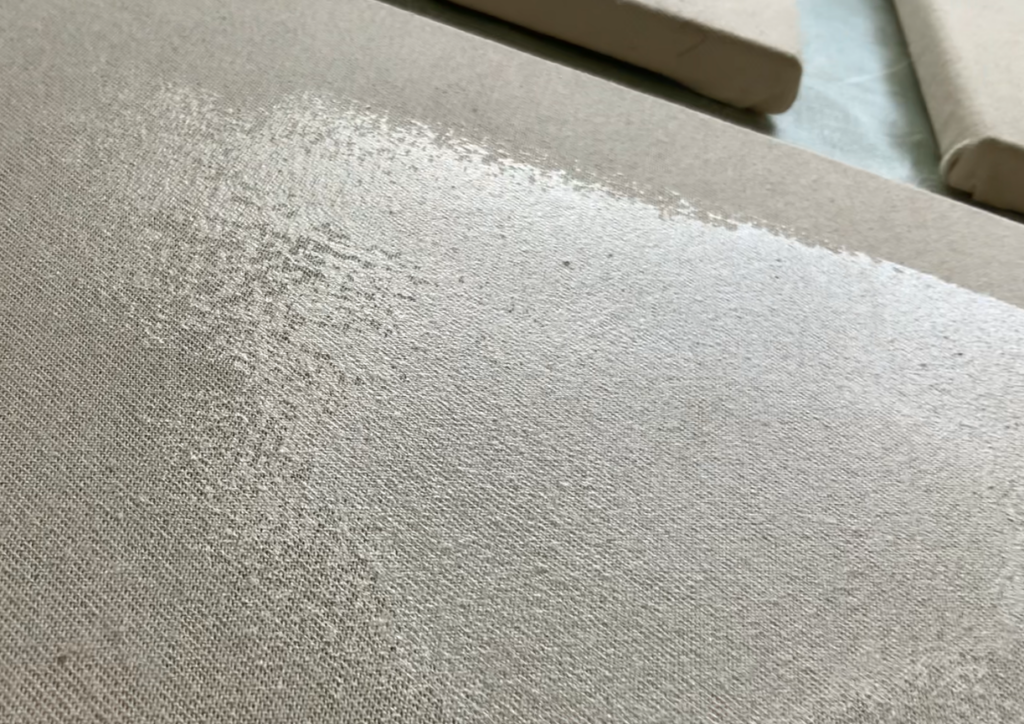
Size your canvas with rabbit skin glue (RSG) before applying an oil ground.
This traditional, protein-based glue seals the fibers, tightens the fabric, and creates the perfect surface to accept a proper oil ground. It’s the foundation for a stable, smooth, detailed painting surface.
Used correctly, it:
- Gives you a drum-tight canvas
- Prevents oil from reaching the fibers
- Sets up your ground and paint for long-term durability
- Feels amazing to work on, solid, responsive, and professional
How I Realized This Still Matters
This isn’t a new problem. Artists have dealt with it for hundreds of years. Every traditional oil painting, from the Renaissance to the 19th century, started with some form of animal glue sizing. It was standard practice, because it works.
Before I came to Germany, I was working in watercolors and oils. I lived in a small town and not everything was easy to find or to buy online. So, I bought my canvases from an artist who made streched canvases as a side business, any size and any surface. I was happy with his service. Then we moved to Germany and had to leave oil painting behind, it wasn’t practical or safe, living in Leipzig in an apartment with two little kids. So I dedicated the next years and all my Botanical Diploma study to watercolors.
But this year in my effort to expand my practice and with the guidance of my mentor I decided to go back to oils, I was so happy! But then, I ran into issues when I tried painting on store-bought, pre-primed cotton canvases. The surface felt slick and synthetic. Paint would sit weirdly or sink unpredictably. And some older paintings started showing signs of cracking, even though I thought I was doing everything “right.”
That’s when I started researching what was missing. The answer was the groundwork.
Today, most painters skip this step because:
- Pre-stretched canvases are cheap and convenient
- They don’t know what sizing even is
- The prep work seems intimidating
- Or they assume acrylic gesso is “good enough”
That’s when my mentor recommended to make my own, saving me money and giving me the best surface possible to work on (I’m talking about canvases here)
Because, if you paint with oils and want your work to last, this step isn’t optional. If you buy canvases that have been properly sized and oil-primed, they’re incredibly expensive, and for good reason. But if you make them yourself in bulk, you get that same luxury surface for a fraction of the price.
Here are some trustworthy resources for you
https://goldenhub.goldenpaints.com/storage/uploads/rabbit-skin-glue-tech-sheet.pdf

The Dangers of Skipping this step
What happens if you ignore this and paint directly on raw or acrylic-gessoed cotton?
- The oil in your paint seeps into the fibers, they weaken, stretch, and eventually disintegrate.
- The canvas may feel okay now, but over years it will sag, crack, or break at stress points.
- The paint surface can delaminate, especially with temperature or humidity shifts.
- You may not notice for a decade, but when you do, it’ll be too late to fix.
Even things like dull, uneven drying, or a weirdly “thirsty” surface are signs that your ground layer isn’t doing its job. Many artists just push through, but they’re working on borrowed time.
The benefits of getting it right
When you use RSG sizing + a proper oil ground, you end up with:
- A tight, smooth, professional painting surface
- Paint that sits beautifully, with real control
- A canvas that can last generations, not just years
It’s perfect for painters who care about detail, subtle brushwork, and archival quality. Whether you’re a beginner learning to respect your materials or a collector building serious work, this kind of surface shows the difference, in both handling and longevity.
What to watch out for:
- Don’t make your glue too strong (1:13 max), or your surface will become brittle
- Always apply the glue warm, never cold
- Let each layer dry fully
- Avoid moisture traps, dry flat, don’t wrap in plastic
I want to pay special attention to the proportions. These are in weight, not in volume.
For example, the proportions 1:15 means that for 10 grams of rabbit skin glue you need 150ml of water (or grams since 1gr water=1ml water)
1:15
33gr RSG + 500ml water which is 500 divided by 15=33,3gr.
it actually is 33,3 gr + 500 ml water or,
33gr + 495 ml water. That’s 33gr times 15 = 495gr.
How-To: My Personal Method
Here’s how I sized my canvases (four 30 × 40 cm or one 80 × 60 cm in total surface):
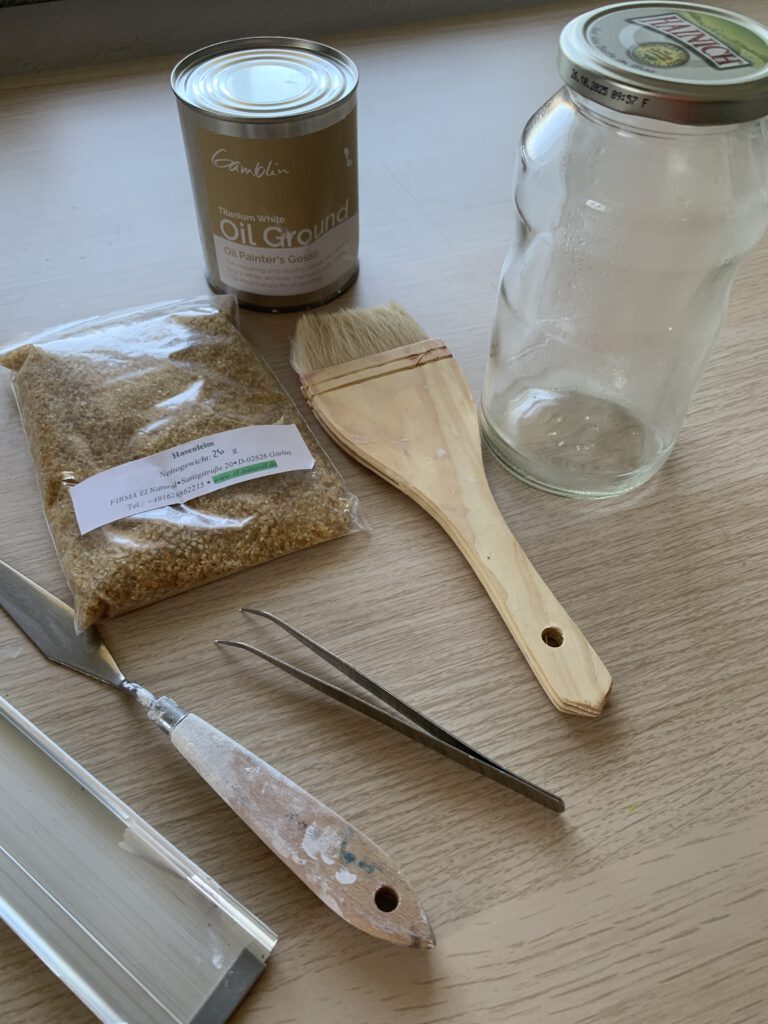
Materials
- Rabbit skin glue granules
- Distilled water
- For a Double boiler I just used a small pot with water inside a big pot with hot water. The small pot shouldn’t touch the base of the bigger pot.
- Soft flat brush. I used a wide Hake brush
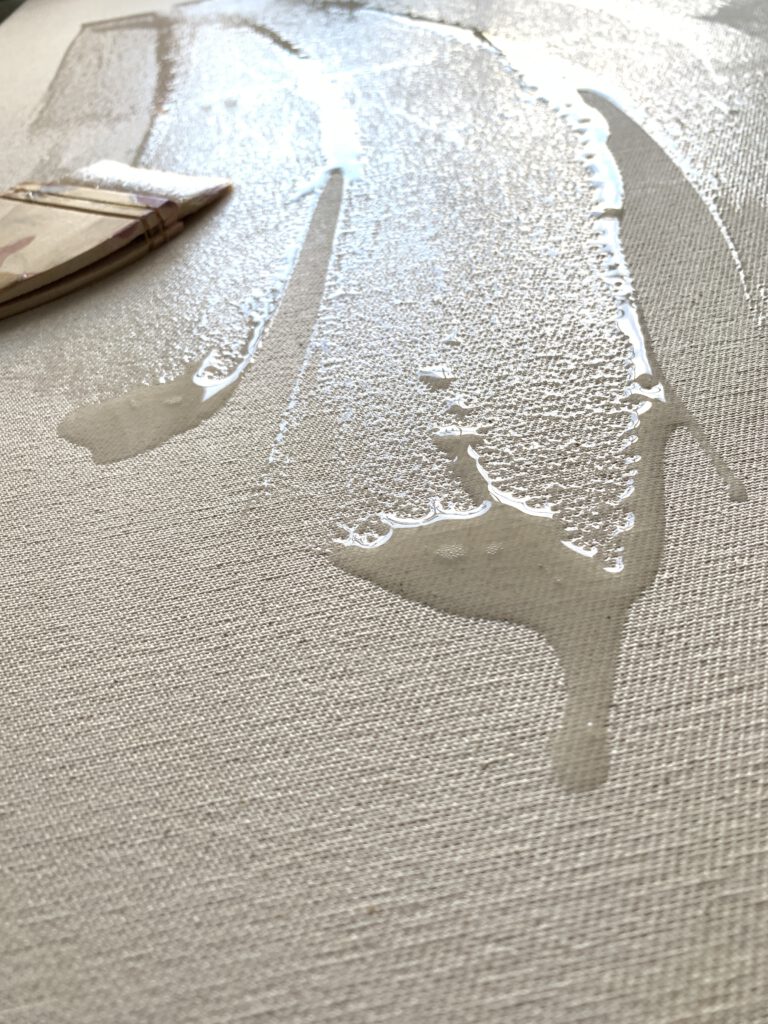
Process
- Soak 20g glue in 300 ml distilled water overnight (1:20 ratio)
- Heat gently until melted (never boil)
- Apply 1st coat (even, thin, warm)
- Let dry flat overnight or for several hours, avoid direct sunlight.
- Apply 2nd coat (perpendicular strokes, slightly thicker) I used a thicker consistency 1:15
- Let dry over night or until dry to the touch. Check the corners
After this, your surface is ready for an oil painting ground. I used Gamblin’s because it’s faster. But this is another topic, another blog. Let me know if I should write about it 🙂
If you’re serious about your painting, or simply want to learn the craft deeply, preparing your own surfaces is a game-changer. It’s not about tradition for tradition’s sake. It’s about quality, control, and honoring your materials.
Pre-stretched canvases are easy. But they’re also made to be cheap and fast.
Sizing your own canvas may feel old-school, but it makes your painting feel grounded, intentional, and solid.
Who benefits from this?
- Painters who want their work to last
- Artists who care about brush feel and control
- Anyone frustrated with saggy or unpredictable surfaces
It might take a bit of effort, but what you gain, in confidence, in quality, in durability, is well worth it.
If this blog helped you understand your canvas a little better, share it with someone who’s just getting started, or someone who’s ready to go deeper into their craft.
You can get more insight into the practice joining here: Private Collector List you will get a 10% discount and a catalog 🙂